


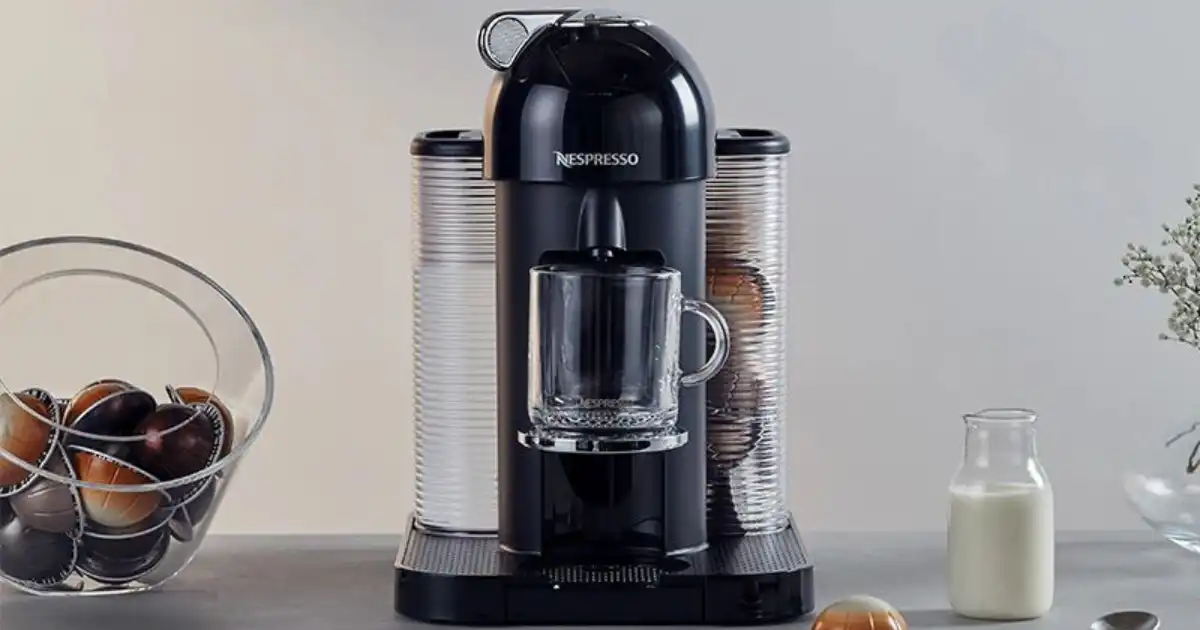
If you use a Nespresso Vertuo machine regularly, descaling eventually becomes unavoidable. It is one of those maintenance tasks people tend to delay until the machine starts acting strange.5 Simple Nespresso Vertuo Descaling Steps.
In my experience, that is usually when coffee begins pouring slower, the machine gets louder, or the taste starts to feel slightly off.
Descaling removes mineral buildup from inside the machine. This buildup mostly comes from tap water, especially in areas with hard water. Over time, those minerals stick to internal heating elements and water lines. If you ignore it long enough, the machine has to work harder just to brew a cup.
Most Vertuo machines need descaling every 3 to 6 months depending on usage and water hardness. The entire process usually takes about 20 minutes. It is simple once you know the steps, but there are a few common mistakes people make that can cause confusion.
What You Need Before Descaling
Before starting the descaling process, gather a few basic items. Nothing complicated, but having everything ready makes the process smoother.
You will need a Nespresso descaling solution. These are designed specifically for the machine and dissolve mineral buildup safely. You will also need fresh water, a container large enough to hold at least 1 liter of liquid, and access to a sink.
Set aside about 20 minutes where you will not need the machine. The process runs automatically once it starts, so you will mostly just be monitoring it.
One small tip from experience: place a towel under the container. Sometimes the flow splashes a bit, especially during the rinse cycle.
Step 1: Empty and Prepare the Machine
Before descaling begins, the machine needs to be completely cleared out.
First, open the machine head and eject any used capsules that may still be inside. I have seen people start the process with a capsule stuck in there, which can cause confusion later when the machine refuses to run properly.
Next, remove and empty the drip tray. It usually holds more liquid than people expect. While you are there, empty the used capsule container as well.
Give both pieces a quick rinse. This is not required, but it prevents old coffee residue from mixing with the descaling liquid later.
Now place a large container under the coffee spout. It needs to hold at least 1 liter of liquid because both the descaling solution and rinse water will flow through the machine.
Make sure the water tank is attached properly and the machine is powered on. If the tank is not seated correctly, the machine will not enter descaling mode.
Step 2: Add the Descaling Solution
Now it is time to prepare the descaling mixture.
Take your descaling solution and pour it into the machine’s water tank. Most descaling kits come in small bottles designed for one cleaning cycle. After adding the solution, fill the rest of the tank with fresh water.
The exact ratio usually follows the instructions on the solution bottle, but it typically ends up around half solution and half water.
A lot of people ask about using vinegar instead. I strongly recommend avoiding that. Vinegar can damage internal rubber seals and often leaves a strong smell that takes several rinses to remove. I have seen machines continue producing coffee that smells faintly like vinegar days later.
The descaling solution works by dissolving calcium and mineral deposits inside the heating system and water lines. These deposits form naturally when water is heated repeatedly.
Once the tank is filled, place it back on the machine securely.
Step 3: Enter Descaling Mode
This step is where many people get confused, mostly because different Vertuo models use slightly different button timing.
Machines like the Nespresso Vertuo Next and Nespresso Vertuo Plus follow a similar idea but the button combinations vary slightly.
Typically, you start by turning the machine on and making sure the head is closed. Then you press and hold the main button for several seconds until the indicator light begins blinking in a specific pattern.
When the machine enters descaling mode, the light usually turns orange or starts flashing in an orange pattern. That light change is the machine’s way of saying it is ready for the cleaning cycle.
What I often see happen is people release the button too early or press it too many times. Then the machine just starts a normal brew cycle instead of entering descaling mode.
If that happens, simply stop the cycle and try again. Once you get the timing right, the machine will stay in descaling mode and wait for the cycle to start.
Step 4: Run the Descaling Cycle
Once the machine is in descaling mode, the actual cleaning process is mostly automatic.
Press the main button to start the cycle. The machine will begin pumping the descaling solution through the internal system and out through the coffee spout.
During this stage, the liquid travels through the heating element, internal tubing, and brewing chamber. This is where mineral buildup usually collects. The solution breaks down those deposits and flushes them out.
The cycle usually takes about 7 to 10 minutes. The flow may pause occasionally. That is normal. The machine is controlling the pressure and temperature internally.
One important tip: do not interrupt the cycle. I have seen people stop it halfway because they think something is wrong. Stopping early can leave cleaning solution sitting inside the machine.
Just let the process run until the tank is empty and the machine signals the next stage.
Step 5: Rinse the Machine With Fresh Water
After the descaling solution runs through, the machine needs to be rinsed thoroughly.
Remove the water tank, rinse it quickly, and fill it with fresh water only. No solution this time.
Place the tank back on the machine and run the rinse cycle. This pushes clean water through the same internal paths the descaling solution just traveled through.
The goal is to remove any leftover cleaning solution so it does not affect the taste of your coffee.
The rinse cycle usually takes another 5 to 7 minutes. You will see clear water flowing into your container.
Sometimes I run one extra rinse cycle just to be safe, especially if the machine had heavy mineral buildup. It only takes a few extra minutes and guarantees the system is fully clean.
Once finished, the machine will return to normal brewing mode.
How Often Should You Descale a Nespresso Vertuo?
In most homes, descaling every 3 to 6 months works well.
However, water quality plays a big role. If you live in an area with hard water, mineral buildup happens faster. In that case, you might need to descale every 2 to 3 months.
Heavy coffee drinkers should also descale more often. If the machine is making several cups per day, minerals accumulate much faster than occasional use.
Some Vertuo machines will signal when descaling is needed by blinking a warning light. I still recommend paying attention to performance changes rather than waiting for the warning.
Machines usually start showing subtle signs before the light appears.
Signs Your Machine Needs Descaling
The most common sign is slower coffee flow. When mineral buildup forms inside the heating system, water pressure drops slightly and coffee begins pouring slower than usual.
Another noticeable change is sound. The machine may become louder or produce a slightly strained buzzing noise during brewing.
Taste can also change. Coffee may start tasting weaker or less balanced because water is not flowing through the capsule at the correct pressure.
Finally, some Vertuo machines show warning lights that indicate descaling is required. When that happens, it is best to do it soon rather than ignoring it for weeks.
Ignoring those signals often leads to bigger performance problems later.
Common Descaling Mistakes to Avoid
One of the biggest mistakes people make is using vinegar instead of proper descaling solution. Vinegar may dissolve minerals, but it can damage internal components and leave a strong odor inside the system.
Another common mistake is stopping the cycle midway. This usually happens when people think the machine is stuck. In reality, the pauses during descaling are completely normal.
Skipping the rinse cycle is also a problem. Even a small amount of leftover solution can affect coffee flavor.
Finally, many users ignore warning lights for too long. When mineral buildup becomes heavy, the machine has to work harder to heat and pump water. That extra strain shortens the life of internal components.
Regular descaling prevents most of these issues.
You Might Be Interested In
- Does The Nespresso Essenza Mini Make Regular Coffee?
- What Is The Best Nespresso Model?
- Does Nespresso Vertuoplus Take All Pods?
- How Do I Make My Nespresso Coffee Hotter?
- How Much Pressure Does The Nespresso Essenza Mini Use?
Conclusion
Descaling a Nespresso Vertuo machine sounds technical, but in practice it is one of the simplest maintenance tasks you can do. The process mostly involves preparing the machine, running the descaling solution through it, and flushing everything out with clean water. Once you have done it once or twice, the entire routine becomes quick and predictable.
Regular descaling keeps coffee tasting the way it should and prevents the machine from struggling with mineral buildup. These five simple steps take less than half an hour, but they can add years to the life of your machine and keep every cup brewing smoothly.
FAQs about 5 Simple Nespresso Vertuo Descaling Steps
How long does Nespresso Vertuo descaling take?
In most real home setups, the entire descaling process takes around 20 minutes from start to finish. The actual descaling cycle usually runs for about 7 to 10 minutes, and the rinse cycle takes another 5 to 7 minutes. The remaining time is just preparation, like emptying the capsule container, mixing the solution, and positioning a container under the spout.
In my experience, the biggest delay usually comes from figuring out the button timing to enter descaling mode, especially the first time you do it. Once you know the sequence for your specific Vertuo model, the process becomes much faster and more predictable.
Can you use vinegar to descale a Nespresso machine?
A lot of people ask this because vinegar is often used to clean kettles or drip coffee makers. Technically it can dissolve mineral deposits, but it is not a good choice for Nespresso Vertuo machines. The acidity in vinegar can be harsh on internal rubber seals and small components that were not designed for it.
Another issue is the smell. Vinegar tends to linger inside the system, and even after several rinse cycles you may still notice a faint sour odor in the first few cups of coffee. Descaling solutions made for Nespresso machines dissolve mineral buildup just as effectively without leaving residue or damaging internal parts.
Why is my Vertuo still blinking after descaling?
If the machine is still blinking after descaling, it usually means the machine did not exit descaling mode properly. This happens more often than people expect, especially if the button sequence was not completed exactly the way the machine expects.
In many cases, running another rinse cycle with fresh water fixes the issue. Sometimes you may also need to repeat the button sequence to fully exit descaling mode. It can feel confusing the first time, but once the machine resets, the blinking should stop and normal brewing will return.
Do all Vertuo machines use the same descaling steps?
The overall process is basically the same across the entire Vertuo lineup. You prepare the machine, add the descaling solution, activate descaling mode, run the cycle, and then rinse everything with fresh water. The internal cleaning process works in a similar way regardless of the model.
Where things differ slightly is how you activate descaling mode. Machines like the Vertuo Next, Vertuo Plus, and Vertuo Pop use slightly different button timings or combinations. This is where many people get confused, but once the machine enters descaling mode, the rest of the process runs almost the same.
What happens if you don’t descale your machine?
If descaling is ignored for too long, mineral deposits from water begin building up inside the machine’s heating element and water lines. At first, the changes are small. Coffee may pour a little slower or the machine may sound slightly louder during brewing.
Over time the buildup can affect water pressure and heating efficiency. That leads to weaker coffee, longer brewing times, and extra strain on internal components. In extreme cases, heavy mineral buildup can even cause the machine to stop working properly, which is why regular descaling is such an important part of maintaining a Vertuo machine.